How to Create a Windows Installer for an Electron App using Forge
One of the ways that an Electron app can be packaged for distribution is by using Electron Forge.
For Windows, there are currently two options for the kind of installer that Electron Forge can make, WiX and Squirrel.Windows. These each have their own set of configuration options and produce installers with different user experience. (Note: I am not counting the Zip option, which as the name implies is just a zip file containing all your application files, with no actual installer.)
Creating a Basic Installer
Squirrel.Windows
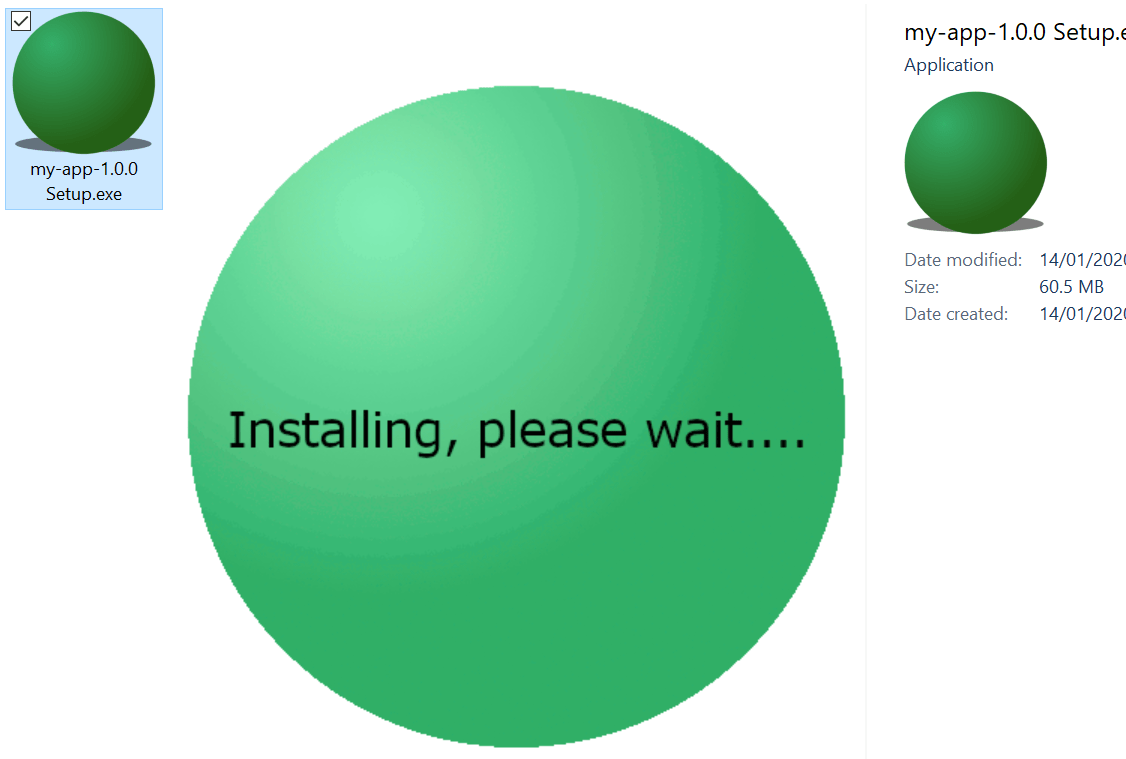
Squirrel.Windows installers do not display detailed progress information or ask the user for any confirmation while installing. Instead, they display a simple looping animation, and the application is launched immediately once installation is complete.
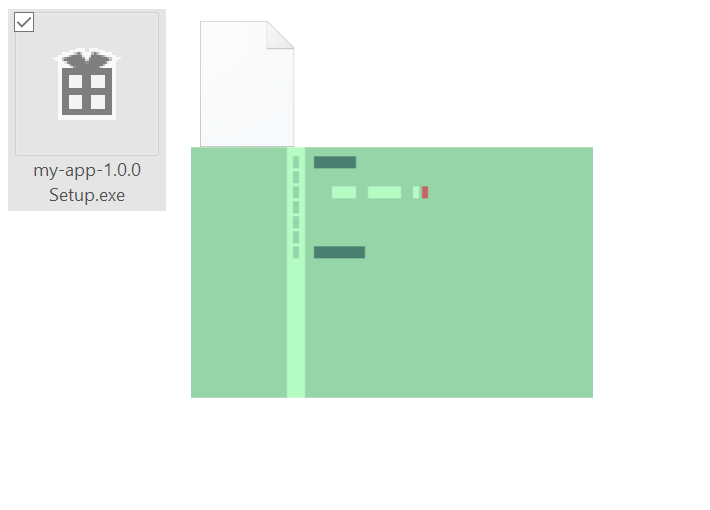
The default icon and progress animation of a Squirrel.Windows installer
WiX
Before you can create WiX installers using Electron Forge, you will first need to install the WiX toolset, and make sure the candle.exe and light.exe tools are configured to be accessible via the PATH system variable. You will also need to make sure that the Forge component @electron-forge/maker-wix is installed as a dev dependency in your Electron project, as Electron Forge’s project setup script does not currently include it.
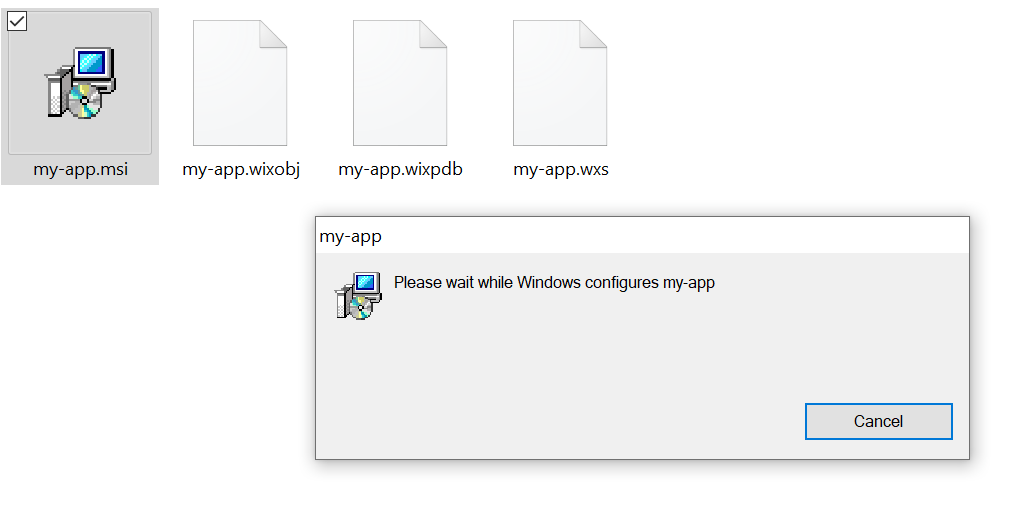
By default, the installer will show this simple window, with no configuration options during install:
Customisation
Custom Application Icon
Electron Forge lets you set an application icon in the same way, regardless of the kind of installer. You will need to have an icon in .ico format, but an easier method is to create a 1024x1024 PNG image of your icon and then use a helper tool called electron-icon-maker which will not only generate an .ico for you from the PNG, but also an ICNS-type icon that would potentially work for a Mac version of your app.
In the Electron Forge configuration, add a path string for “icon” to the “packagerConfig” subsection that specifies where your .ico file is:
"packagerConfig": {
  "icon": "[...]/path/to/icon.ico"
}
Customising a WiX Installer
You can provide a more user-friendly “wizard” interface to a WiX installer by adding a "ui": {...} config section:
{
  "name": "@electron-forge/maker-wix",
  "config": {
    "ui": {
      "chooseDirectory": true
    }
  }
},
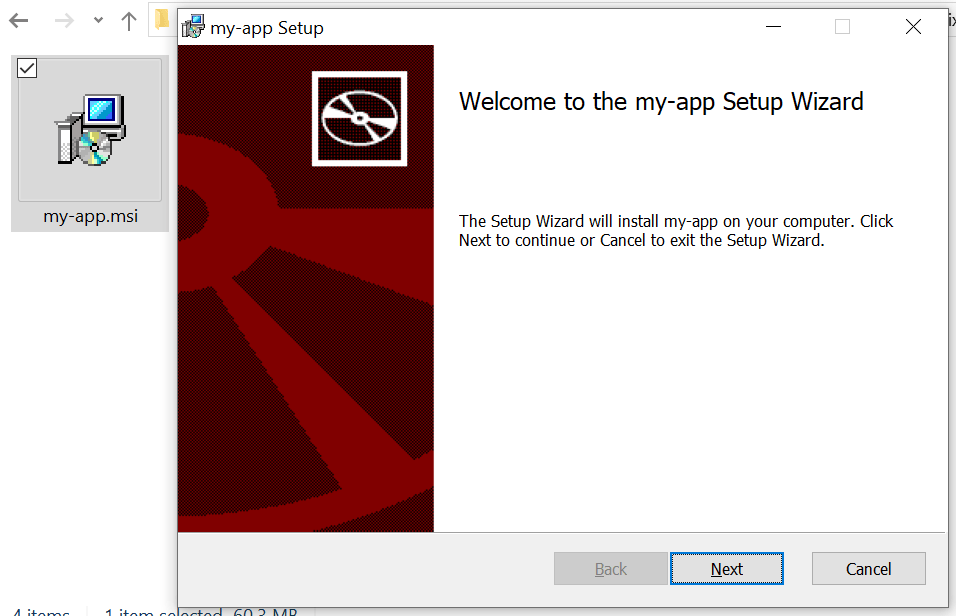
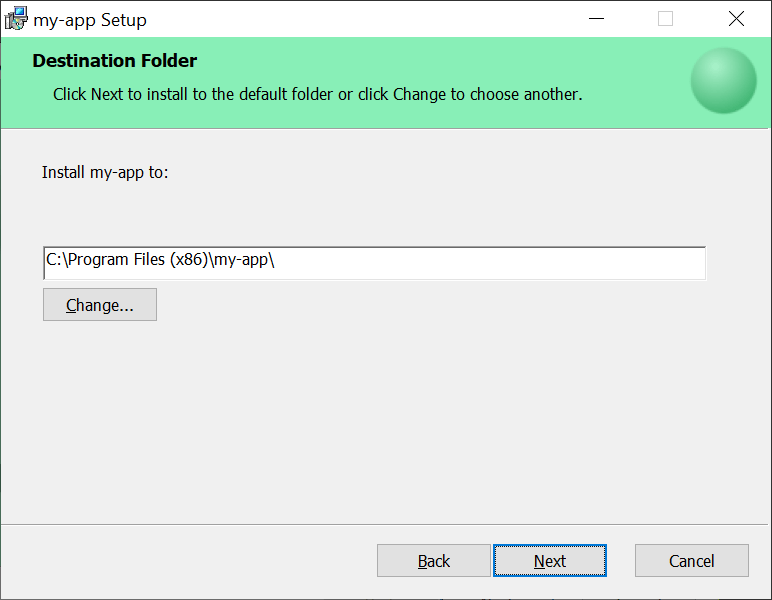
Now the installer will look like this, with several “pages” for the user to click through and given the choice to choose a directory, rather than a fully automated installation process:
You can also specify custom image files to be used as the background for this wizard:
{
  "name": "@electron-forge/maker-wix",
  "config": {
    "ui": {
      "chooseDirectory": true,
      "images": {
        "background": "[...]/path/to/background-493x312.bmp",
        "banner": "[...]/path/to/banner-493x58.bmp"
      }
    }
  }
},
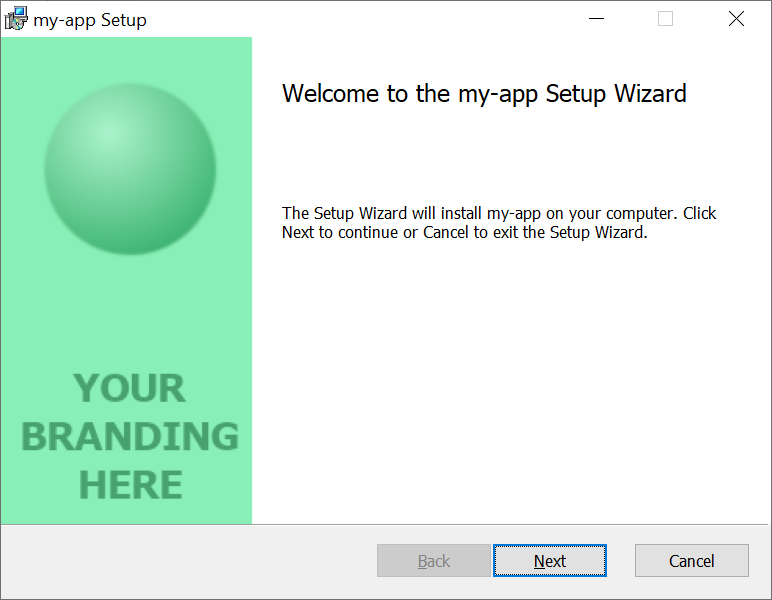
This can be used to add branding to the installer:
Note that, as it is an MSI, the icon for the installer itself cannot be changed.
Customising a Squirrel.Windows Installer
You can replace the “installing” animation with any GIF, and the icon for the installer itself with an .ico file, like this:
{
  "name": "@electron-forge/maker-squirrel",
  "config": {
    "loadingGif": "[...]/path/to/installing.gif",
    "setupIcon": "[...]/path/to/icon.ico"
  }
},